~Mitts~
Yeah! My first tutorial featuring...
Mitts!
First you need a pattern which you can get here:
1. Print and cut out the pattern. You may need to enlarge it, but don't
worry if it isn't perfect - it's just a guide line.
2. Cut out the fabric using the pattern, but make sure you leave about a 1/4 inch
around the edges.


3. Put the mitt on your hand BACKWARDS.
(With the pointy end on the bottom.)

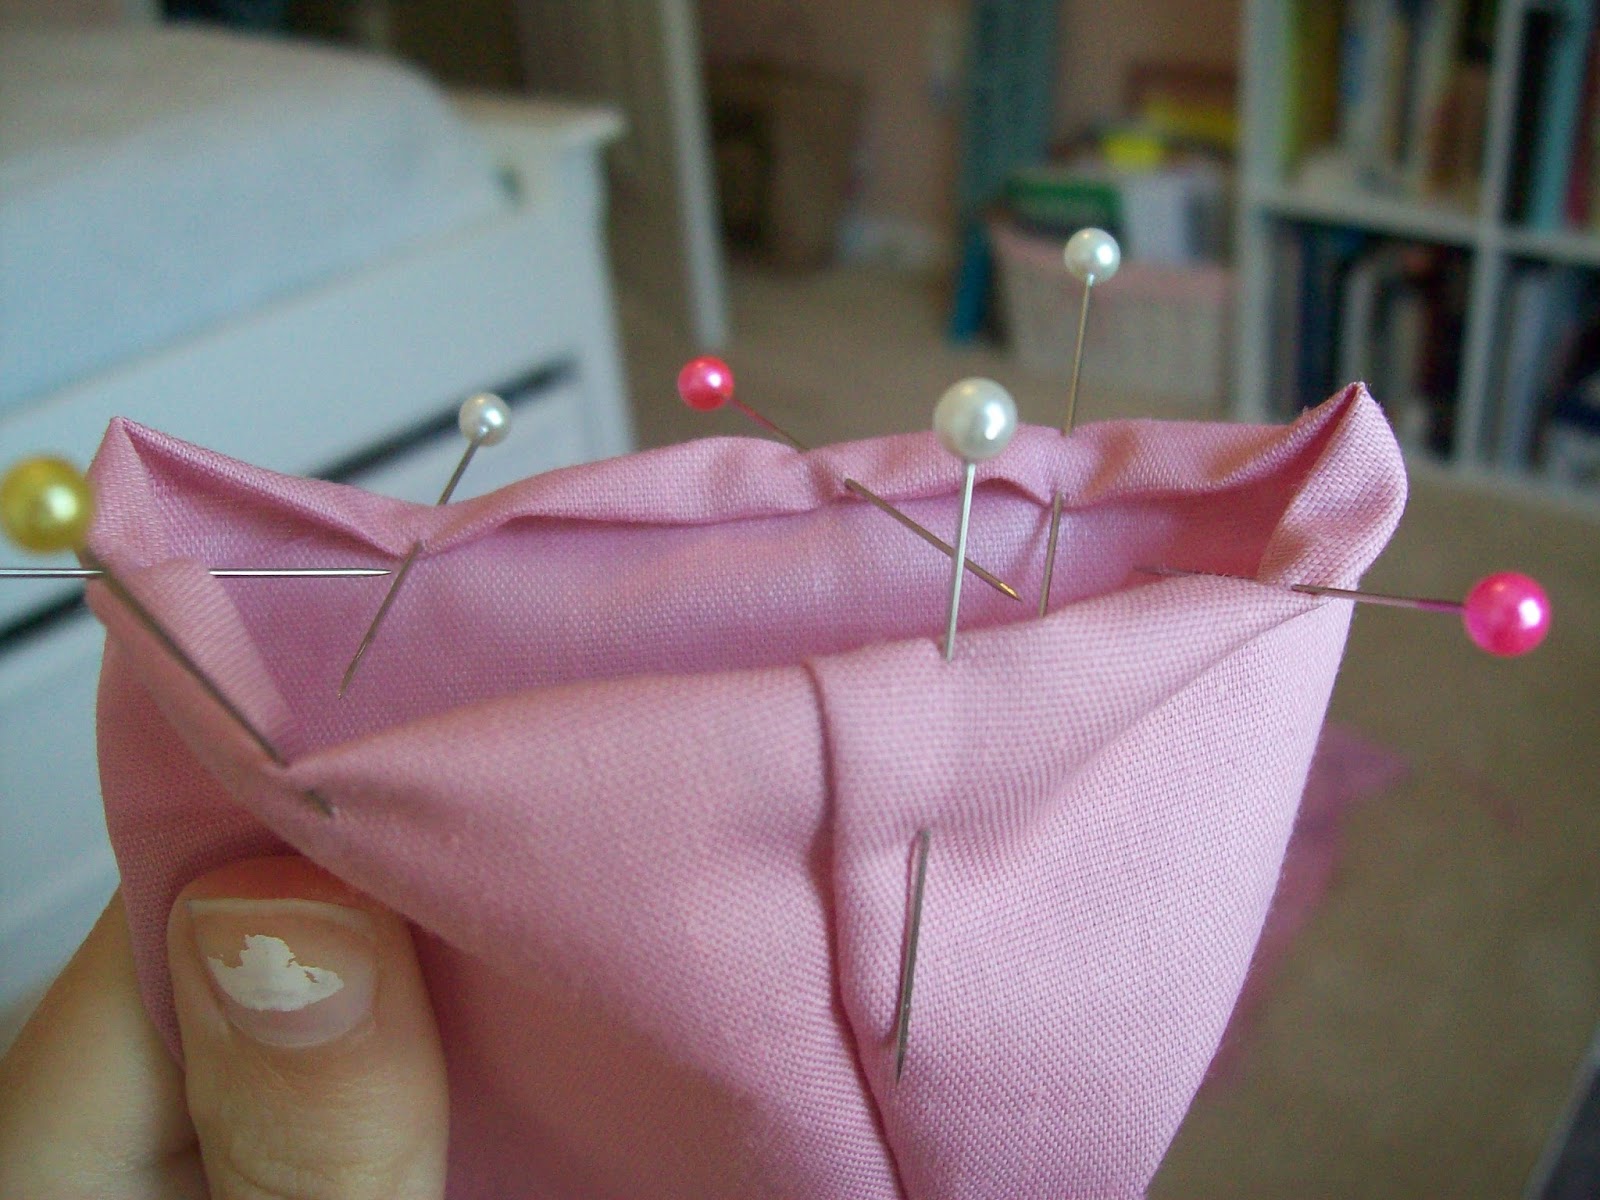
4. Pin down the edge to fit your arm.


5. Stitch down the edge following your pinning line.

try it on to make sure it fits!

6. Cut away the extra fabric on the edge.

7. Hem the top edge of the thumb, sew down the side seam.

Try it on to make sure it fits!

8. With the mitt inside out and the thumb right side out, put the thumb
inside the mitt through the thumb hole.

9. Pin it around the edge.

10. Stitch around the thumb.

11. Put on the mitt, and cut away the excess at the top.

Ahh, now my fingers can breathe!
:)

12. Hem the top edge.


13. Hem the bottom edge

And we're all done!


Enjoy your new mitts!


Comments
Post a Comment